Full tutorial: How to use Adobe Illustrator for iPad with TheVectorLab templates.
Illustrator for iPad + TheVectorLab (Preview)
A first look at Adobe Illustrator for iPad. This tutorial applies to all graphic & logo templates for Adobe.
T-Shirt Mockup Templates for Illustrator are also shown.
5 Essential Qualities of Good T-Shirt Graphics
How to make t-shirt graphics your customers will love.
Have a look:
This video is an excerpt from T-Shirt Design Workshop 1, included with The Big 6 T-Shirt Design Bundle.
The ICONS Collection
The Newest GROWING COLLECTION of Graphic & Logo Templates.
Beginners can easily change the type and colors.
Experienced designers can use these templates as a time-saving starting point to make completely new graphics.
These designs can be used for your:
T-shirt graphics, patches, embroideries, bandanas, hats & stickers.
Packaging and labels.
Physical store signage and web graphics.
Easy T-Shirt Mockups - Illustrator
Tutorial - How to customize the Men's & Women's Easy T-Shirt Mockup Templates in Illustrator.
Easy T-Shirt Mockups - Photoshop
Tutorial - How to customize the Men's & Women's Easy T-Shirt Mockup Templates in Photoshop.
Easy T-Shirt Mockups - Affinity
Tutorial - How to customize the Men's & Women's Easy T-Shirt Mockup Templates in Affinity.
Easy T-Shirt Mockups - CorelDraw
Tutorial - How to customize the Men's & Women's Easy T-Shirt Mockup Templates in CorelDraw.
Curved Text in Illustrator - Shortcuts
Tutorial: How to apply type along a path in Adobe Illustrator.
How to adjust font, type size, tracking, text color, and type handles.
This bear graphic is included in a collection of Graphic & Logo Templates called Aventura.
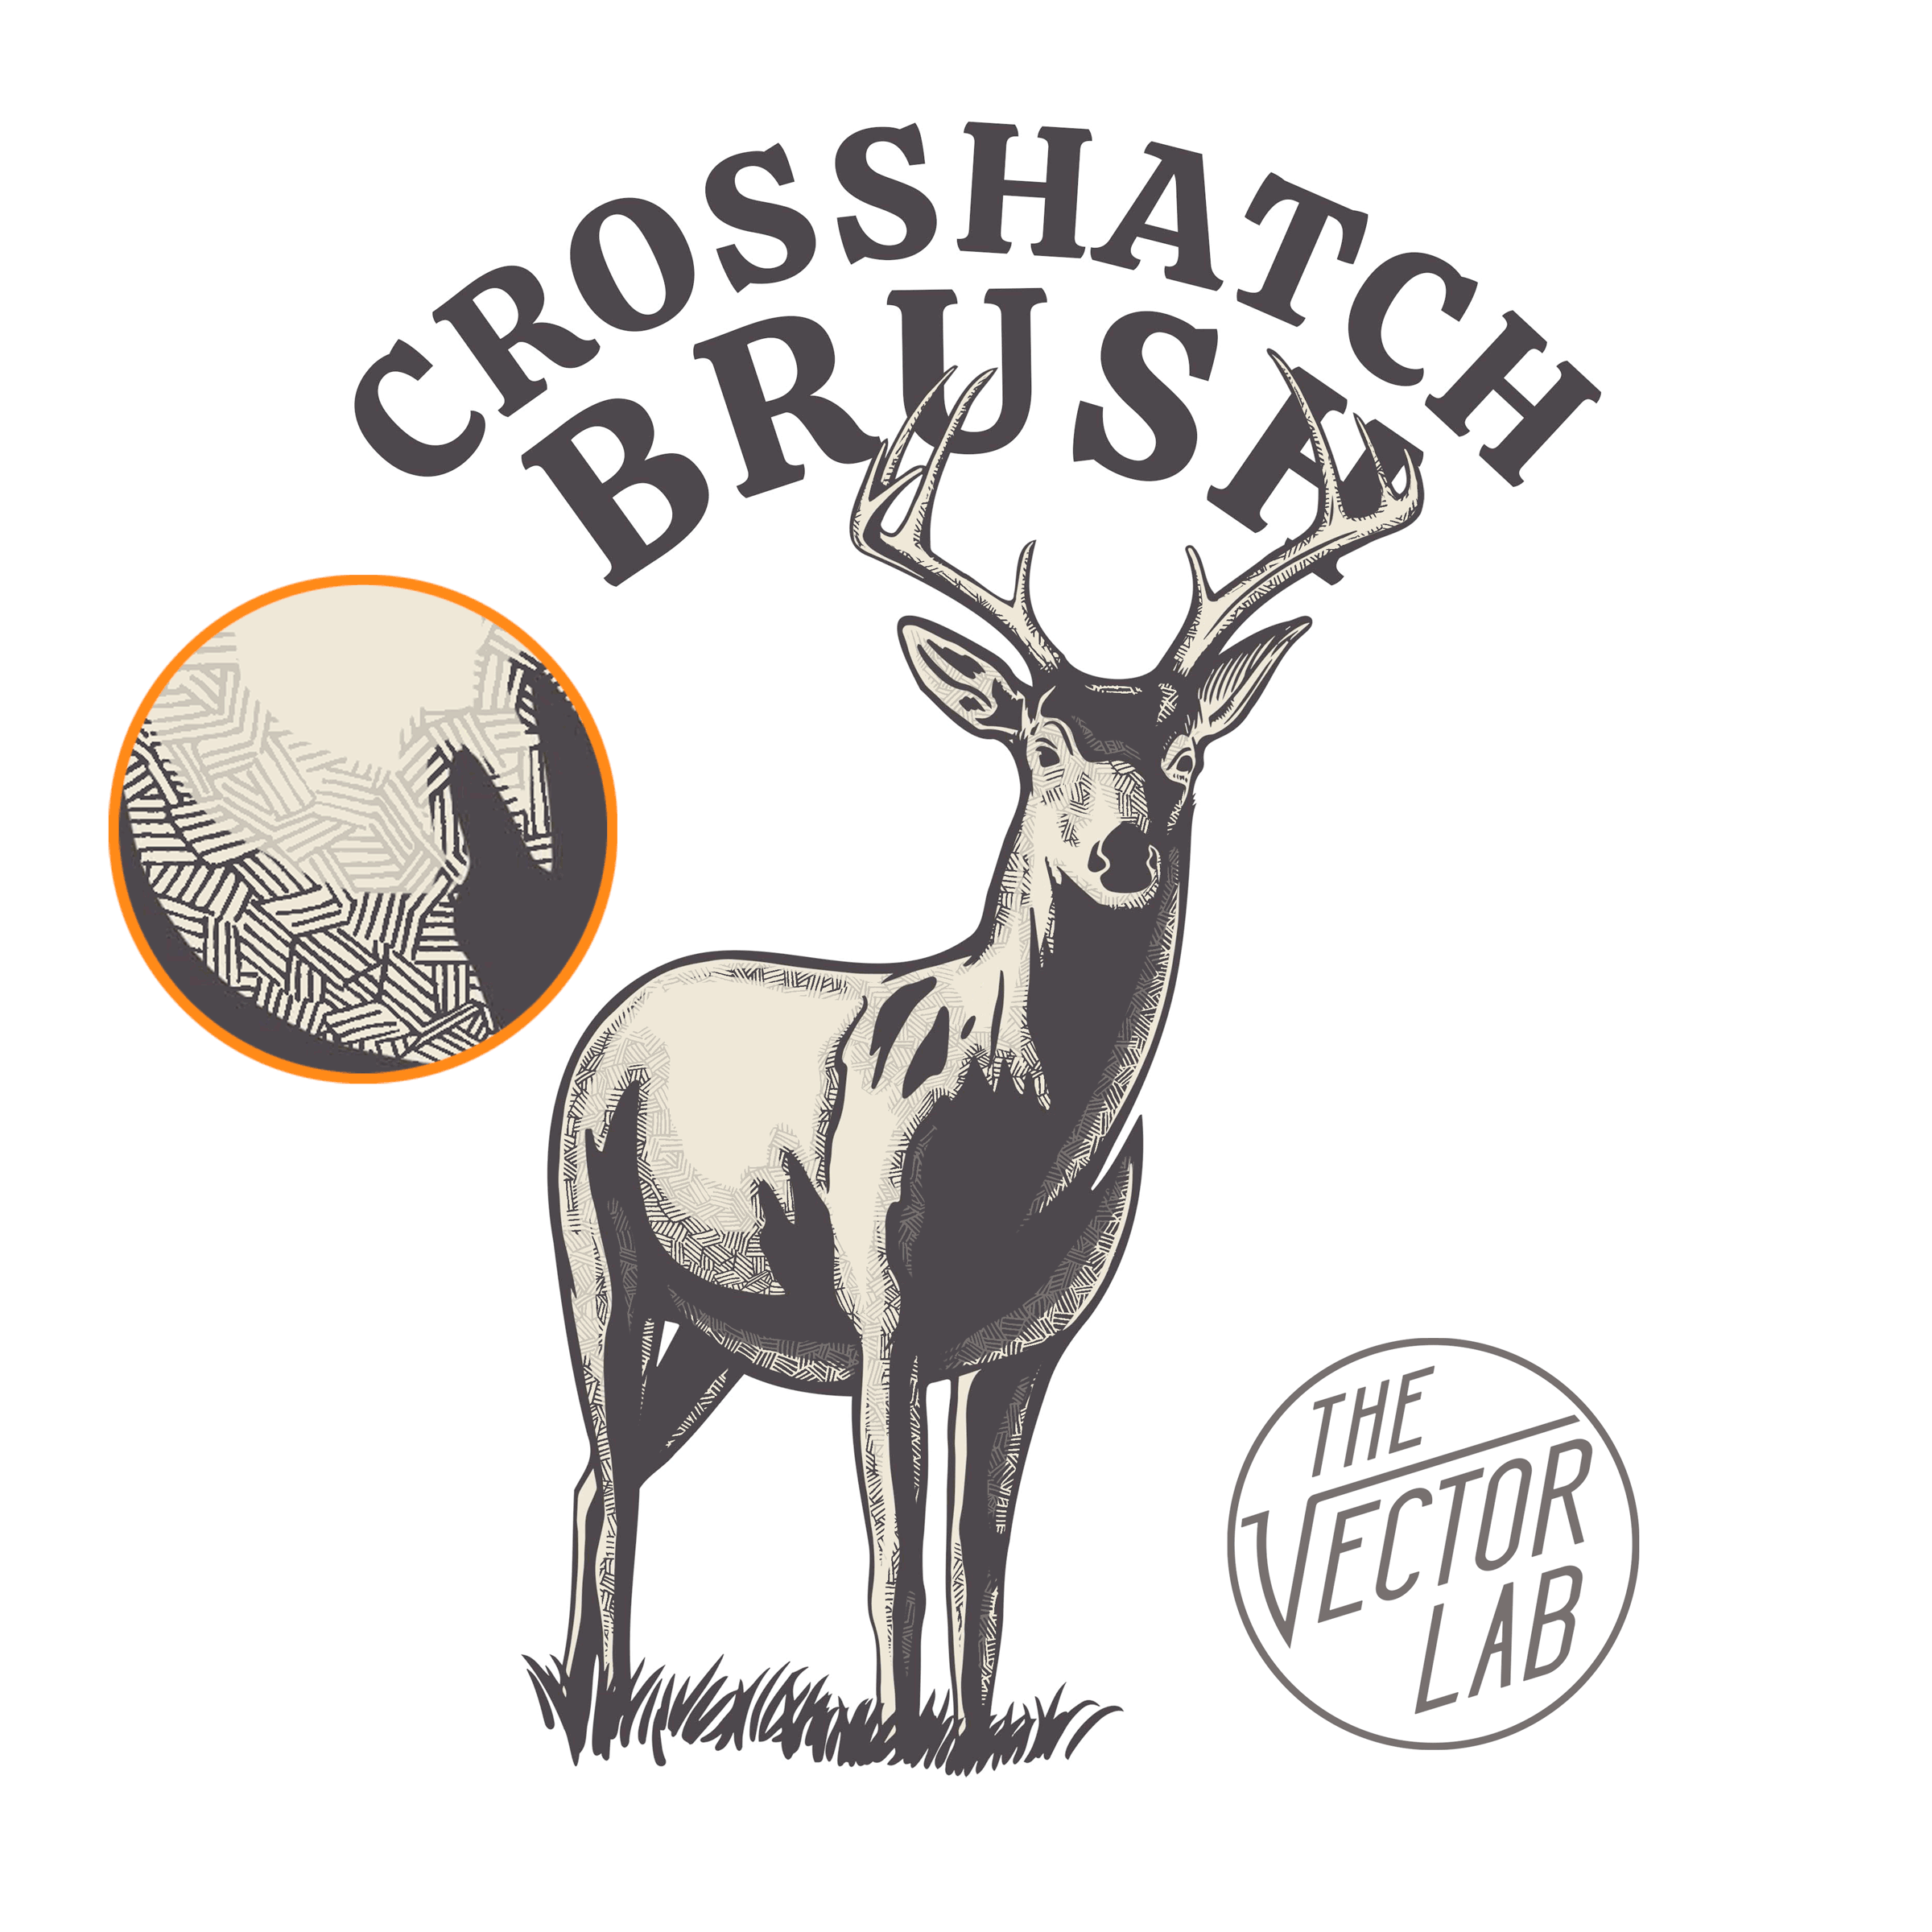
Free Crosshatch Brush for Photoshop and Procreate
This brush for Photoshop and Procreate (iPad) will make it easy to draw crosshatch texture into your designs.
Instructions for Photoshop and Procreate are included.
Crosshatch Brushes are free for email subscribers in Graphic Design Launch Kit
Tutorial: Photoshop Texture
Learn:
How to apply transparent texture using ANY black & white texture
How to properly scale your texture
Why using layer masks is the best method
T-shirt design tools shown:
Combine Two T-Shirt Mockups
This tutorial demonstrates how to combine two t-shirt mockup templates into on Photoshop file.
Utilizing “Smart Object” layers
How to match fabric colors
This tutorial uses Men’s T-Shirt Mockup Templates for Adobe.
Tutorial: Graphic & Logo Template Designs in Illustrator
How to customize TheVectorLab Graphic & Logo Templates in Adobe Illustrator.
This tutorial applies to the following collections:
Adobe Illustrator for iPad Tutorial: TheVectorLab Graphic & Logo Templates.
The Top 6 T-Shirt Printing Methods
1) Screen Printing
Best for: Achieving a high quality print at a low cost per shirt. (Print runs of 50 or more shirts)
Traditional screen printing often results in a much better print than direct to garment (DTG) printing. Softer and less of a "thick ink" feel.
Tips:
Ask your screen printer for a “soft hand” print. This can be achieved with water based ink or plastisol ink.
Use a local screen printer so you can do a “press check” as your shirts are being printed. This will allow you and your screen printer to make last minute adjustments with ink colors and printing quality.
Printing on premium 100% cotton ringspun cotton shirts will result in better prints (softer, better resolution, better colors) than a cheaper “carded cotton” shirt. For premium t-shirts, have a look at Bella Canvas and Next Level.
If your print requires an underbase, ask for a discharge underbase. This will bleach out the dye of the shirt fabric, so bright colors can be printed onto dark fabric. Resulting in a much softer print, compared to a thick white plastisol underbase.
If you can’t find a good local screen printer, have a look at Jakprints.
2) Direct to Garment (DTG) Printing
Best for: Small print runs and Printing on Demand.
Direct to Garment Printing (Inkjet printing onto shirts) is not known for the best quality prints. It’s also not the most cost-effective kind of printing for large print runs.
But it is excellent if you need shirts printed in small quantities. This method is a favorite for drop shippers and business startups. Have a look at Printful and other DTG vendors.
Another advantage with DTG printing is you don’t need to have color separations made for your graphic. A transparent PNG image of your graphic is all your DTG print vendor will need.
Tips:
Send your design to a handful of DTG print vendors, and order one shirt sample from each. This should cost around $30 per shirt. It’s a low investment to locate a good printer.
Printing with no underbase on light fabric will often result in a print that looks and feels better than printing on a dark shirt.
3) Digital Transfers
Best for: Ability to achieve high quality prints in-house with no bulky/messy equipment.
This method allows you to print your graphics onto heat transfer paper with a special laser printer. Have a look at Uninet iColor and Oki.
You can print the transfers one at a time. Then heat press the graphics to shirts as orders arrive.
This looks to be a promising new method for printing high quality t-shirt graphics for small to medium size print runs.
4) Dye Sublimation
Best for: Super soft full-color prints on polyester shirts. Medium size print runs.
Sublimation printing isn’t achieved with ink. It is transferring dye to the polyester fibers in a shirt.
Tips:
Sublimation dye only adheres to polyester, so you can’t use a 100% cotton shirt. However, you can use sublimation on a poly/cotton blend.
The higher percentage of polyester to cotton, the brighter and more saturated your colors will print. (An 80% poly / 20% cotton shirt will print more saturated color than 50% poly / 50% cotton shirt).
Dye sublimation is usually applied to white fabric. You can sublimate onto light colored fabric. But if you try to sublimate on dark fabric, your print won’t show up.
5) Plastisol Heat Transfers
Best for: The ability to apply the graphic to your shirts as the orders come in. Low cost.
This method involves having a vendor screen print your graphic onto sheets of transfer paper. The advantage is you can heat press the graphic in-house as orders arrive. No more committing your shirt inventory to specific graphics.
6) Vinyl Cut Heat Transfers
Best for: Small print runs. Fun with DIY crafts. Low cost.
Vinyl cutting is best for simple designs. You can use an inexpensive Cricut or Silhouette machine to cut your design from sheets of Heat Transfer Vinyl.
The biggest downside to vinyl cutting is the labor-intensive “weeding.” This is removing the excess vinyl after cutting. The more complex your design, the more you will have to manually peel away the unwanted areas of vinyl.
Drawing with Procreate Brush Textures on iPad
Apply NatureTones Textures on the Procreate App for more depth in your drawings.
Graphic & Logo Templates
The Big 6 Bundle
includes 614 Graphic & Logo Templates and over 250 fonts.
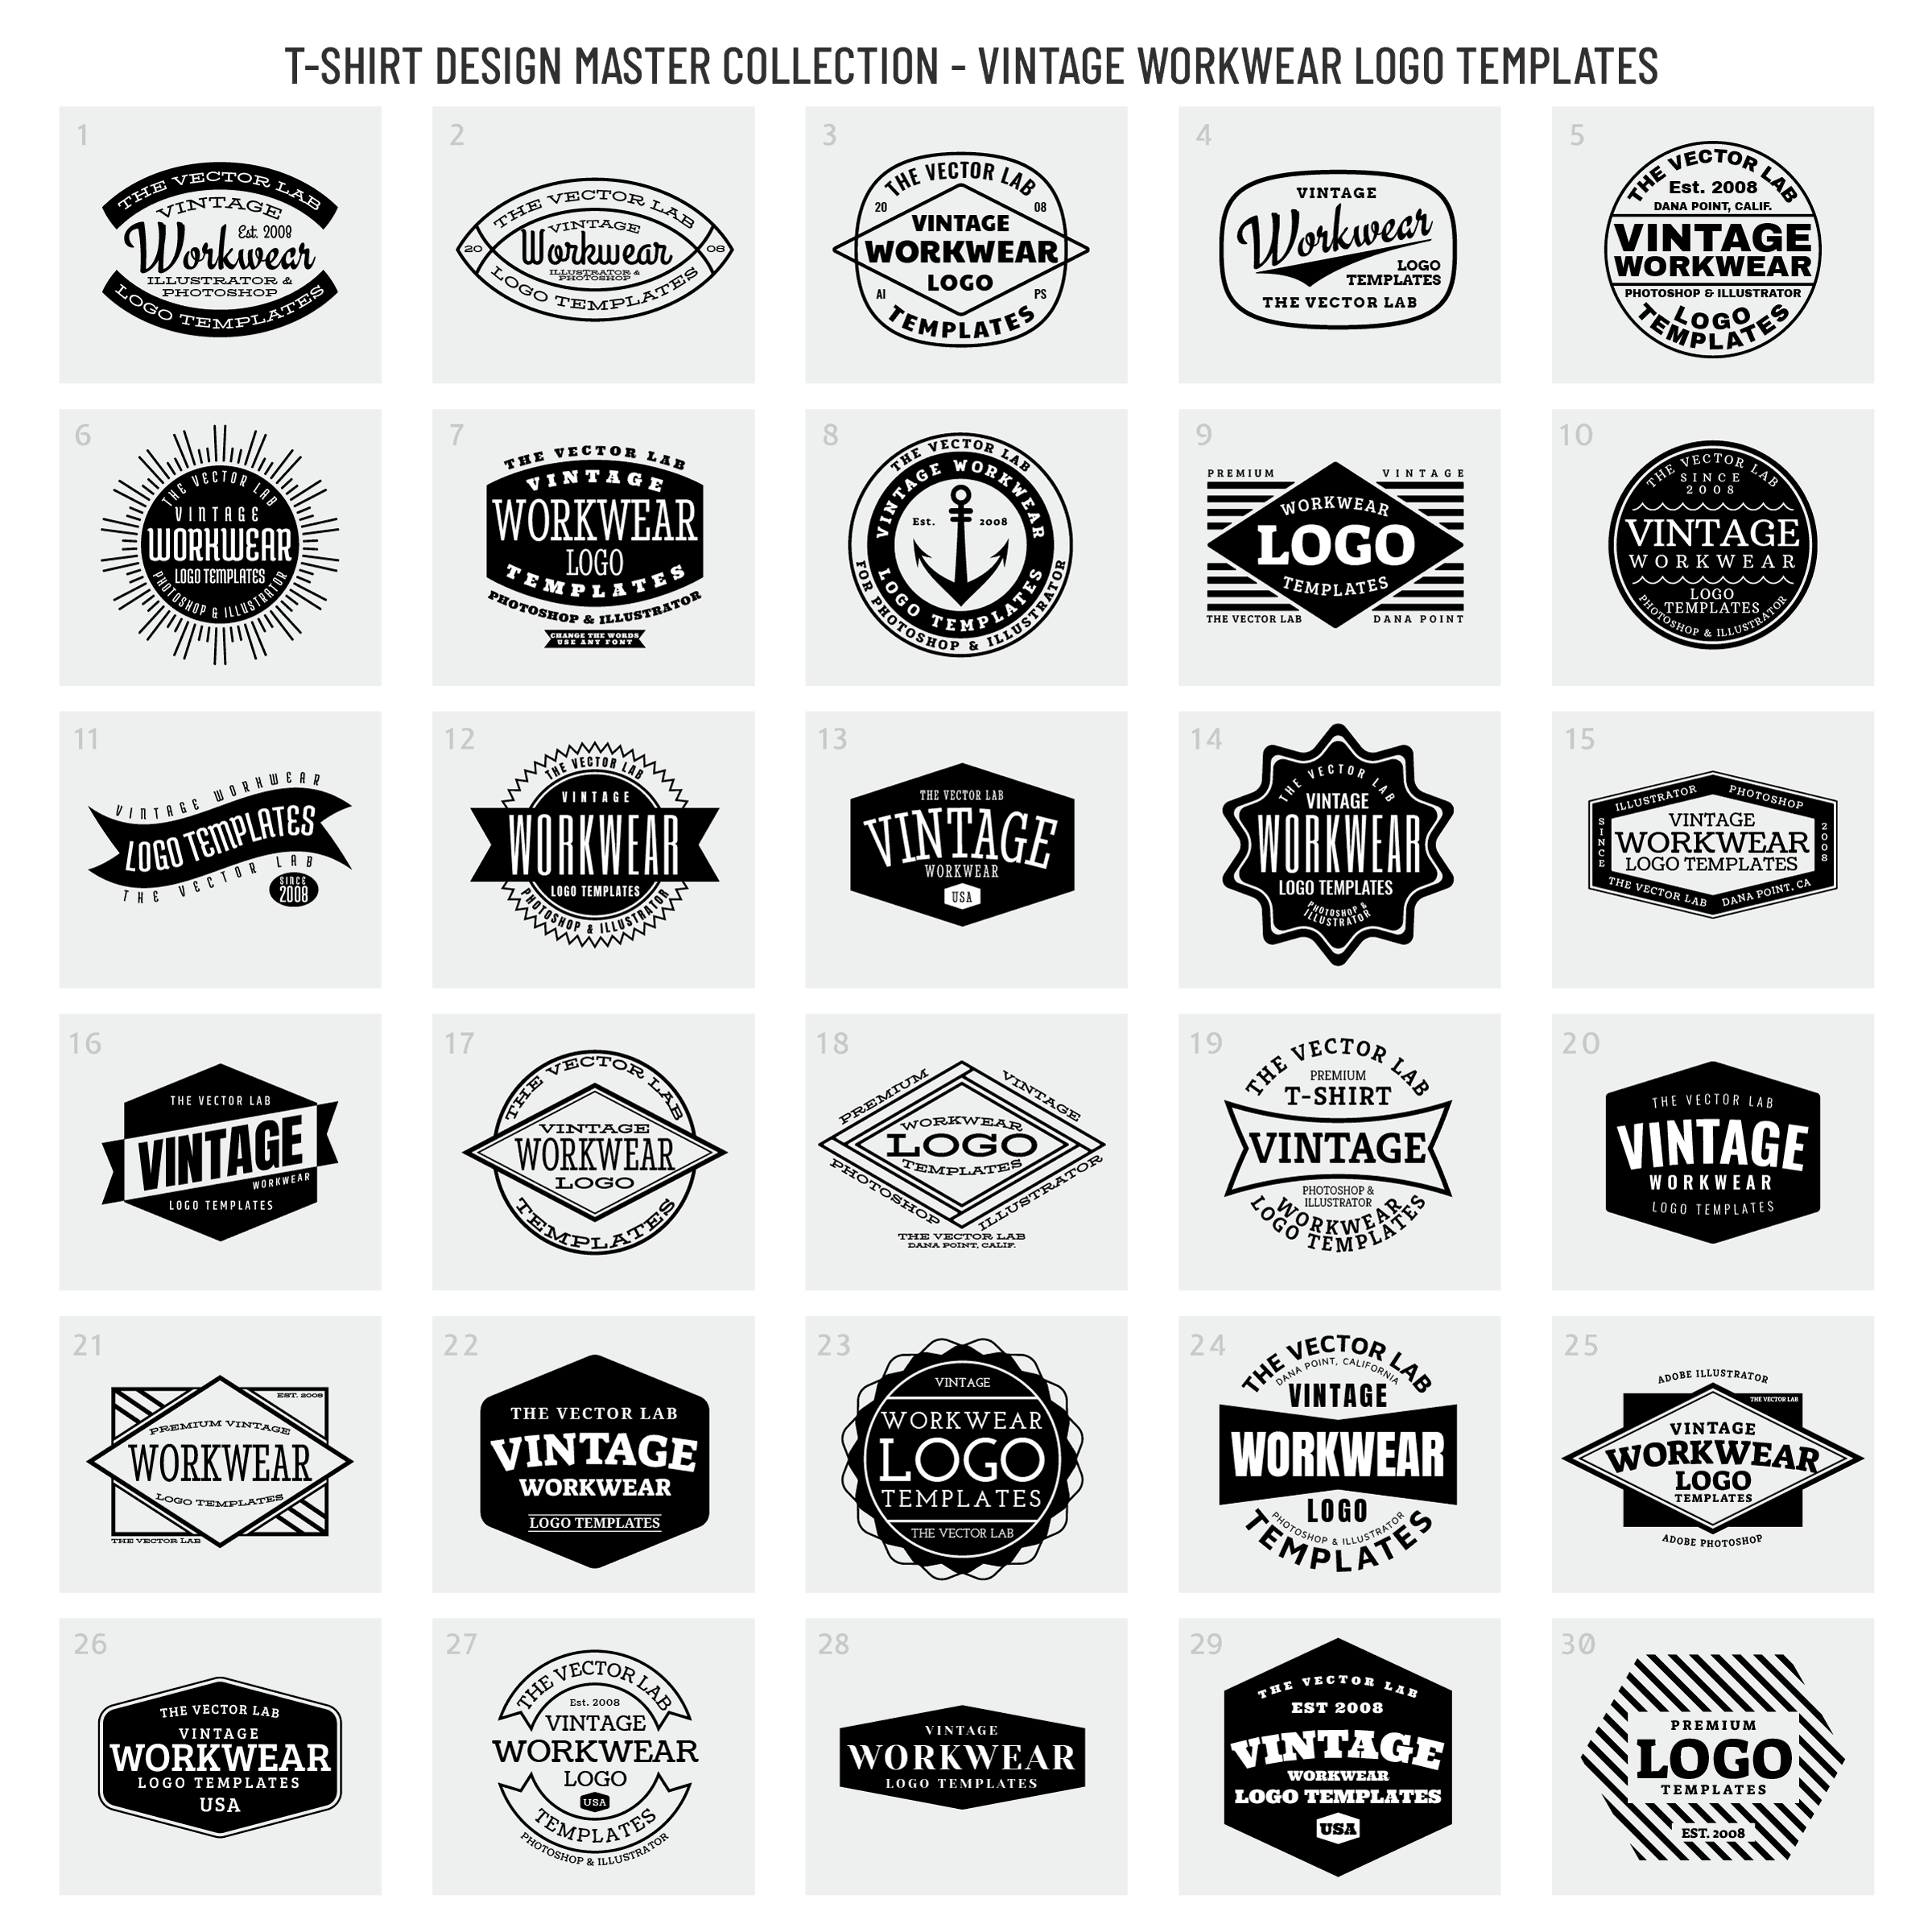
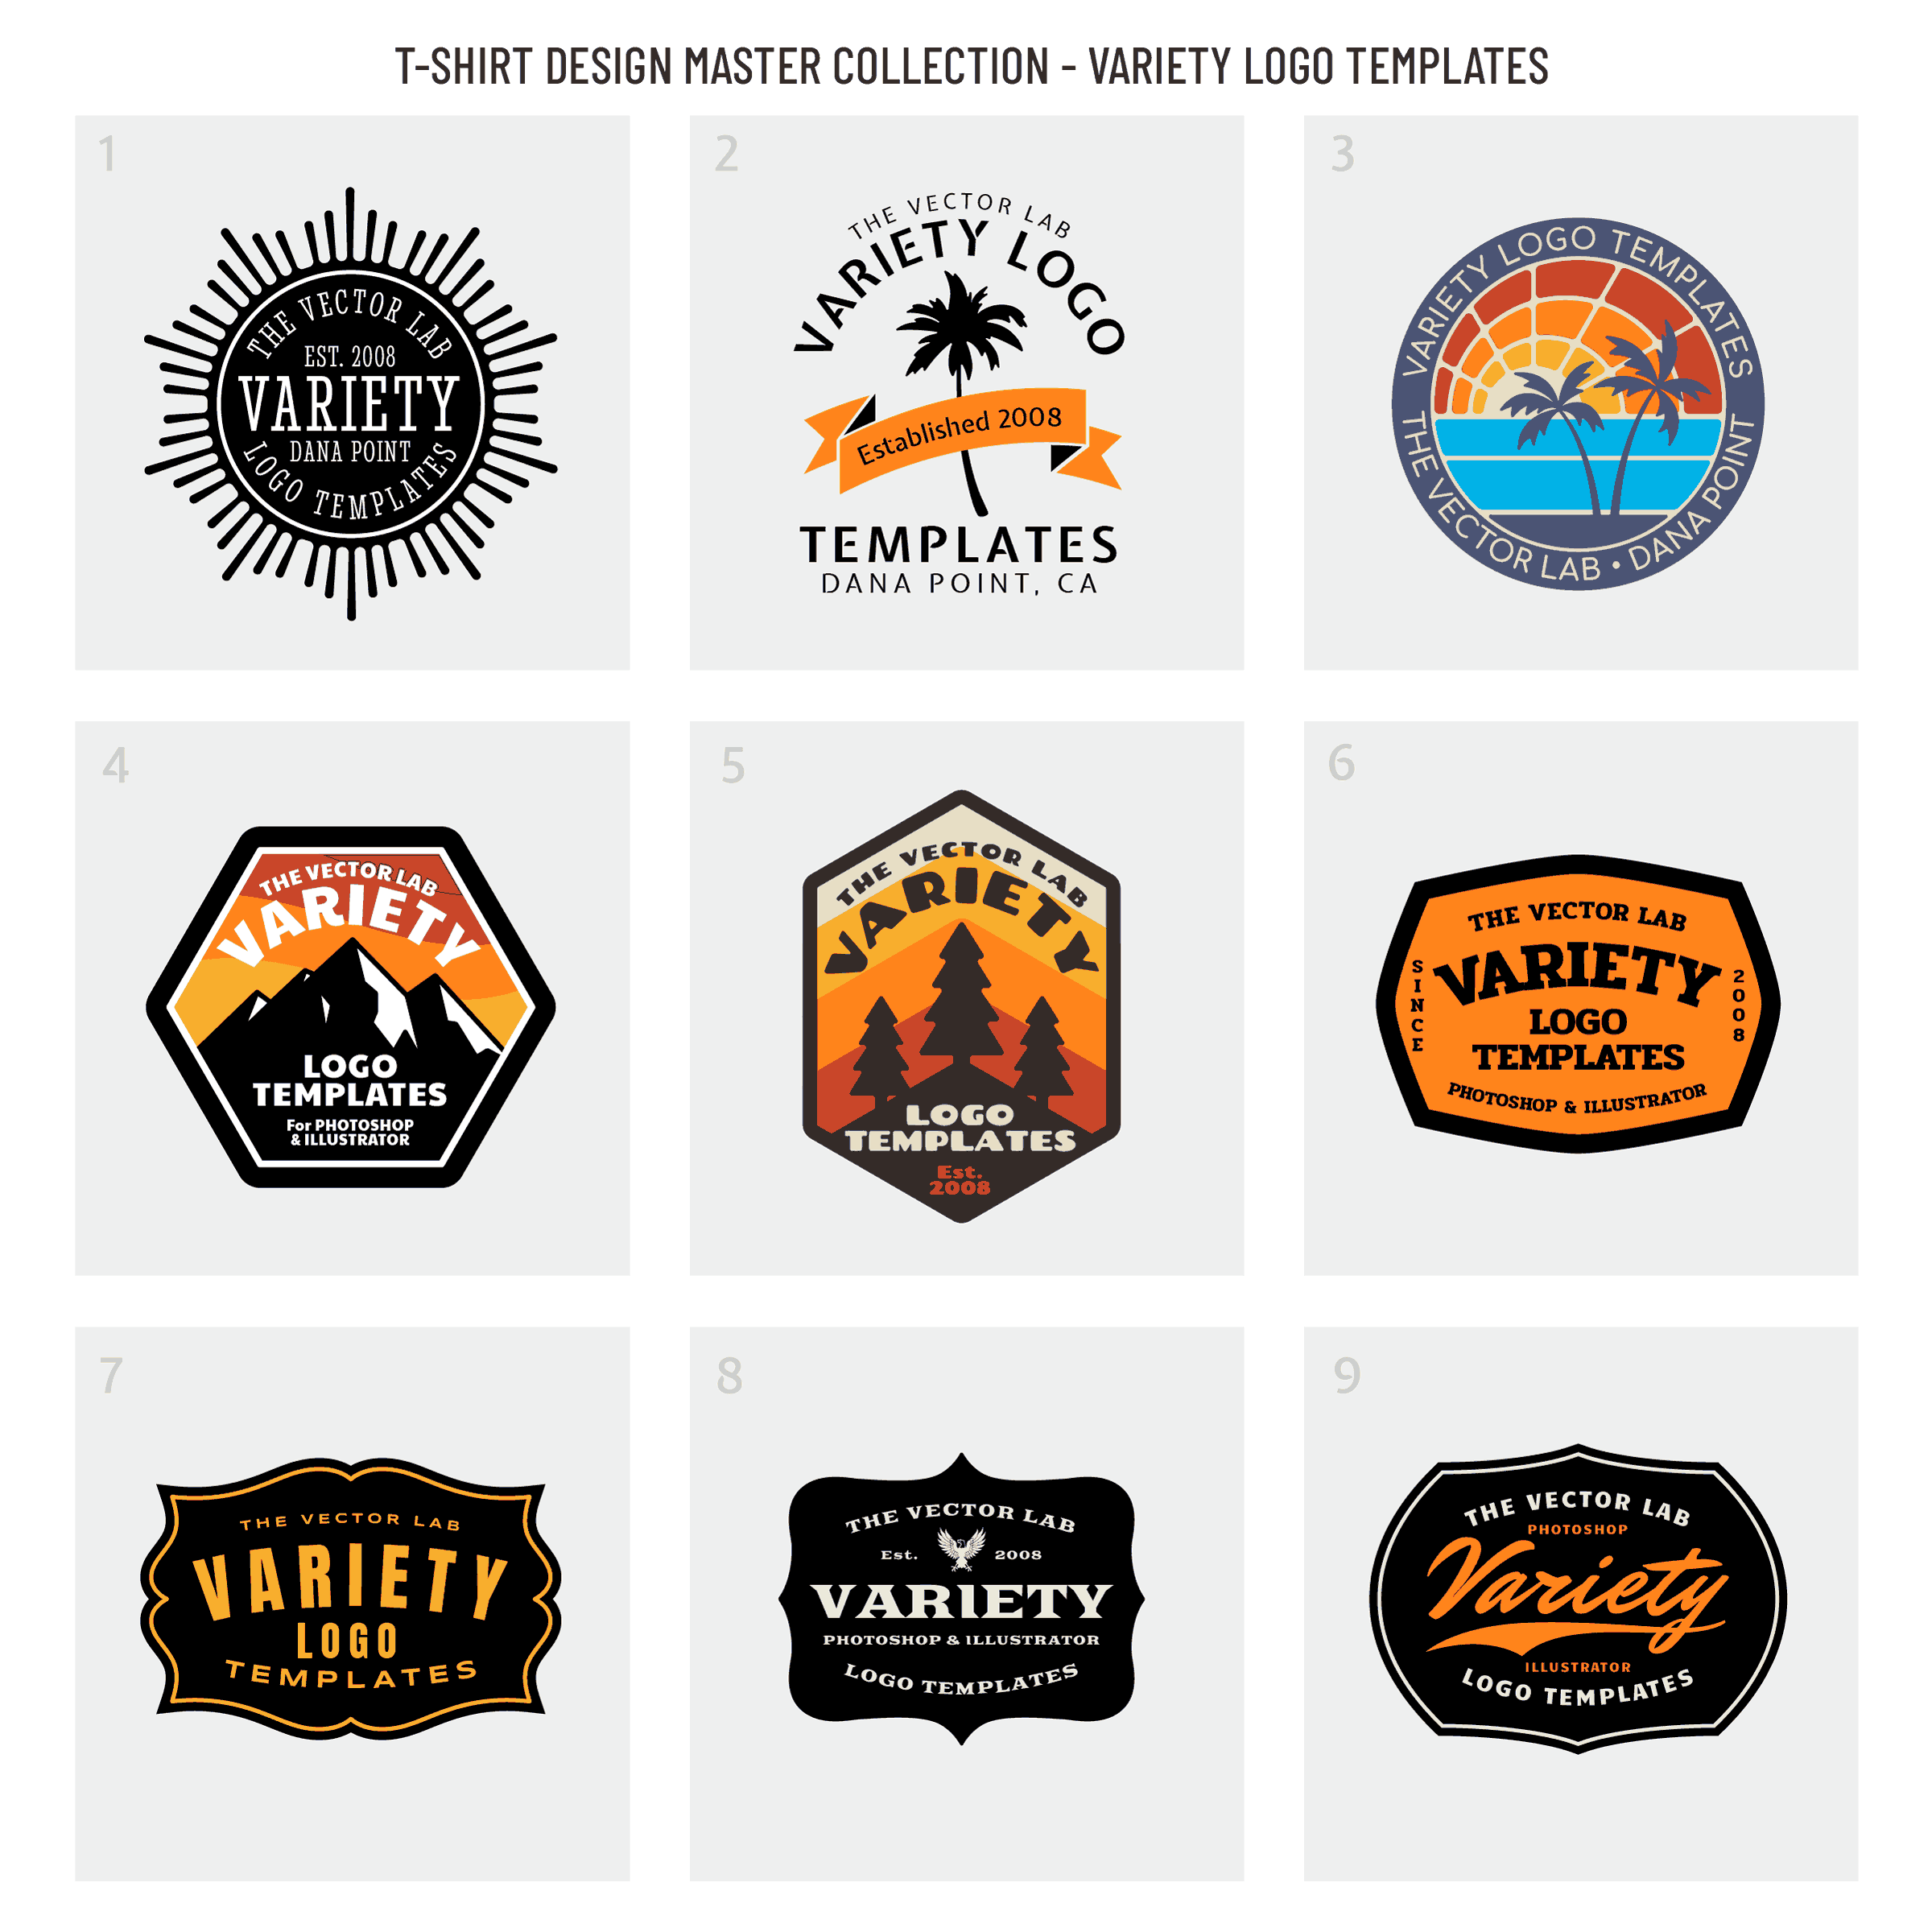
The following is a visual reference of all 614 designs in The Big 6 Bundle, categorized by each of the 6 component bundles.
T-Shirt Design Master Collection 1
39 Logo Templates
T-Shirt Design Master Collection 2
50 Logo Templates
Logo Design Master Collection
225 Graphic & Logo Templates
Graphic & Logo Bundle Vol. 1
100 Graphic & Logo Templates
Graphic & Logo Bundle Vol. 2
100 Graphic & Logo Templates
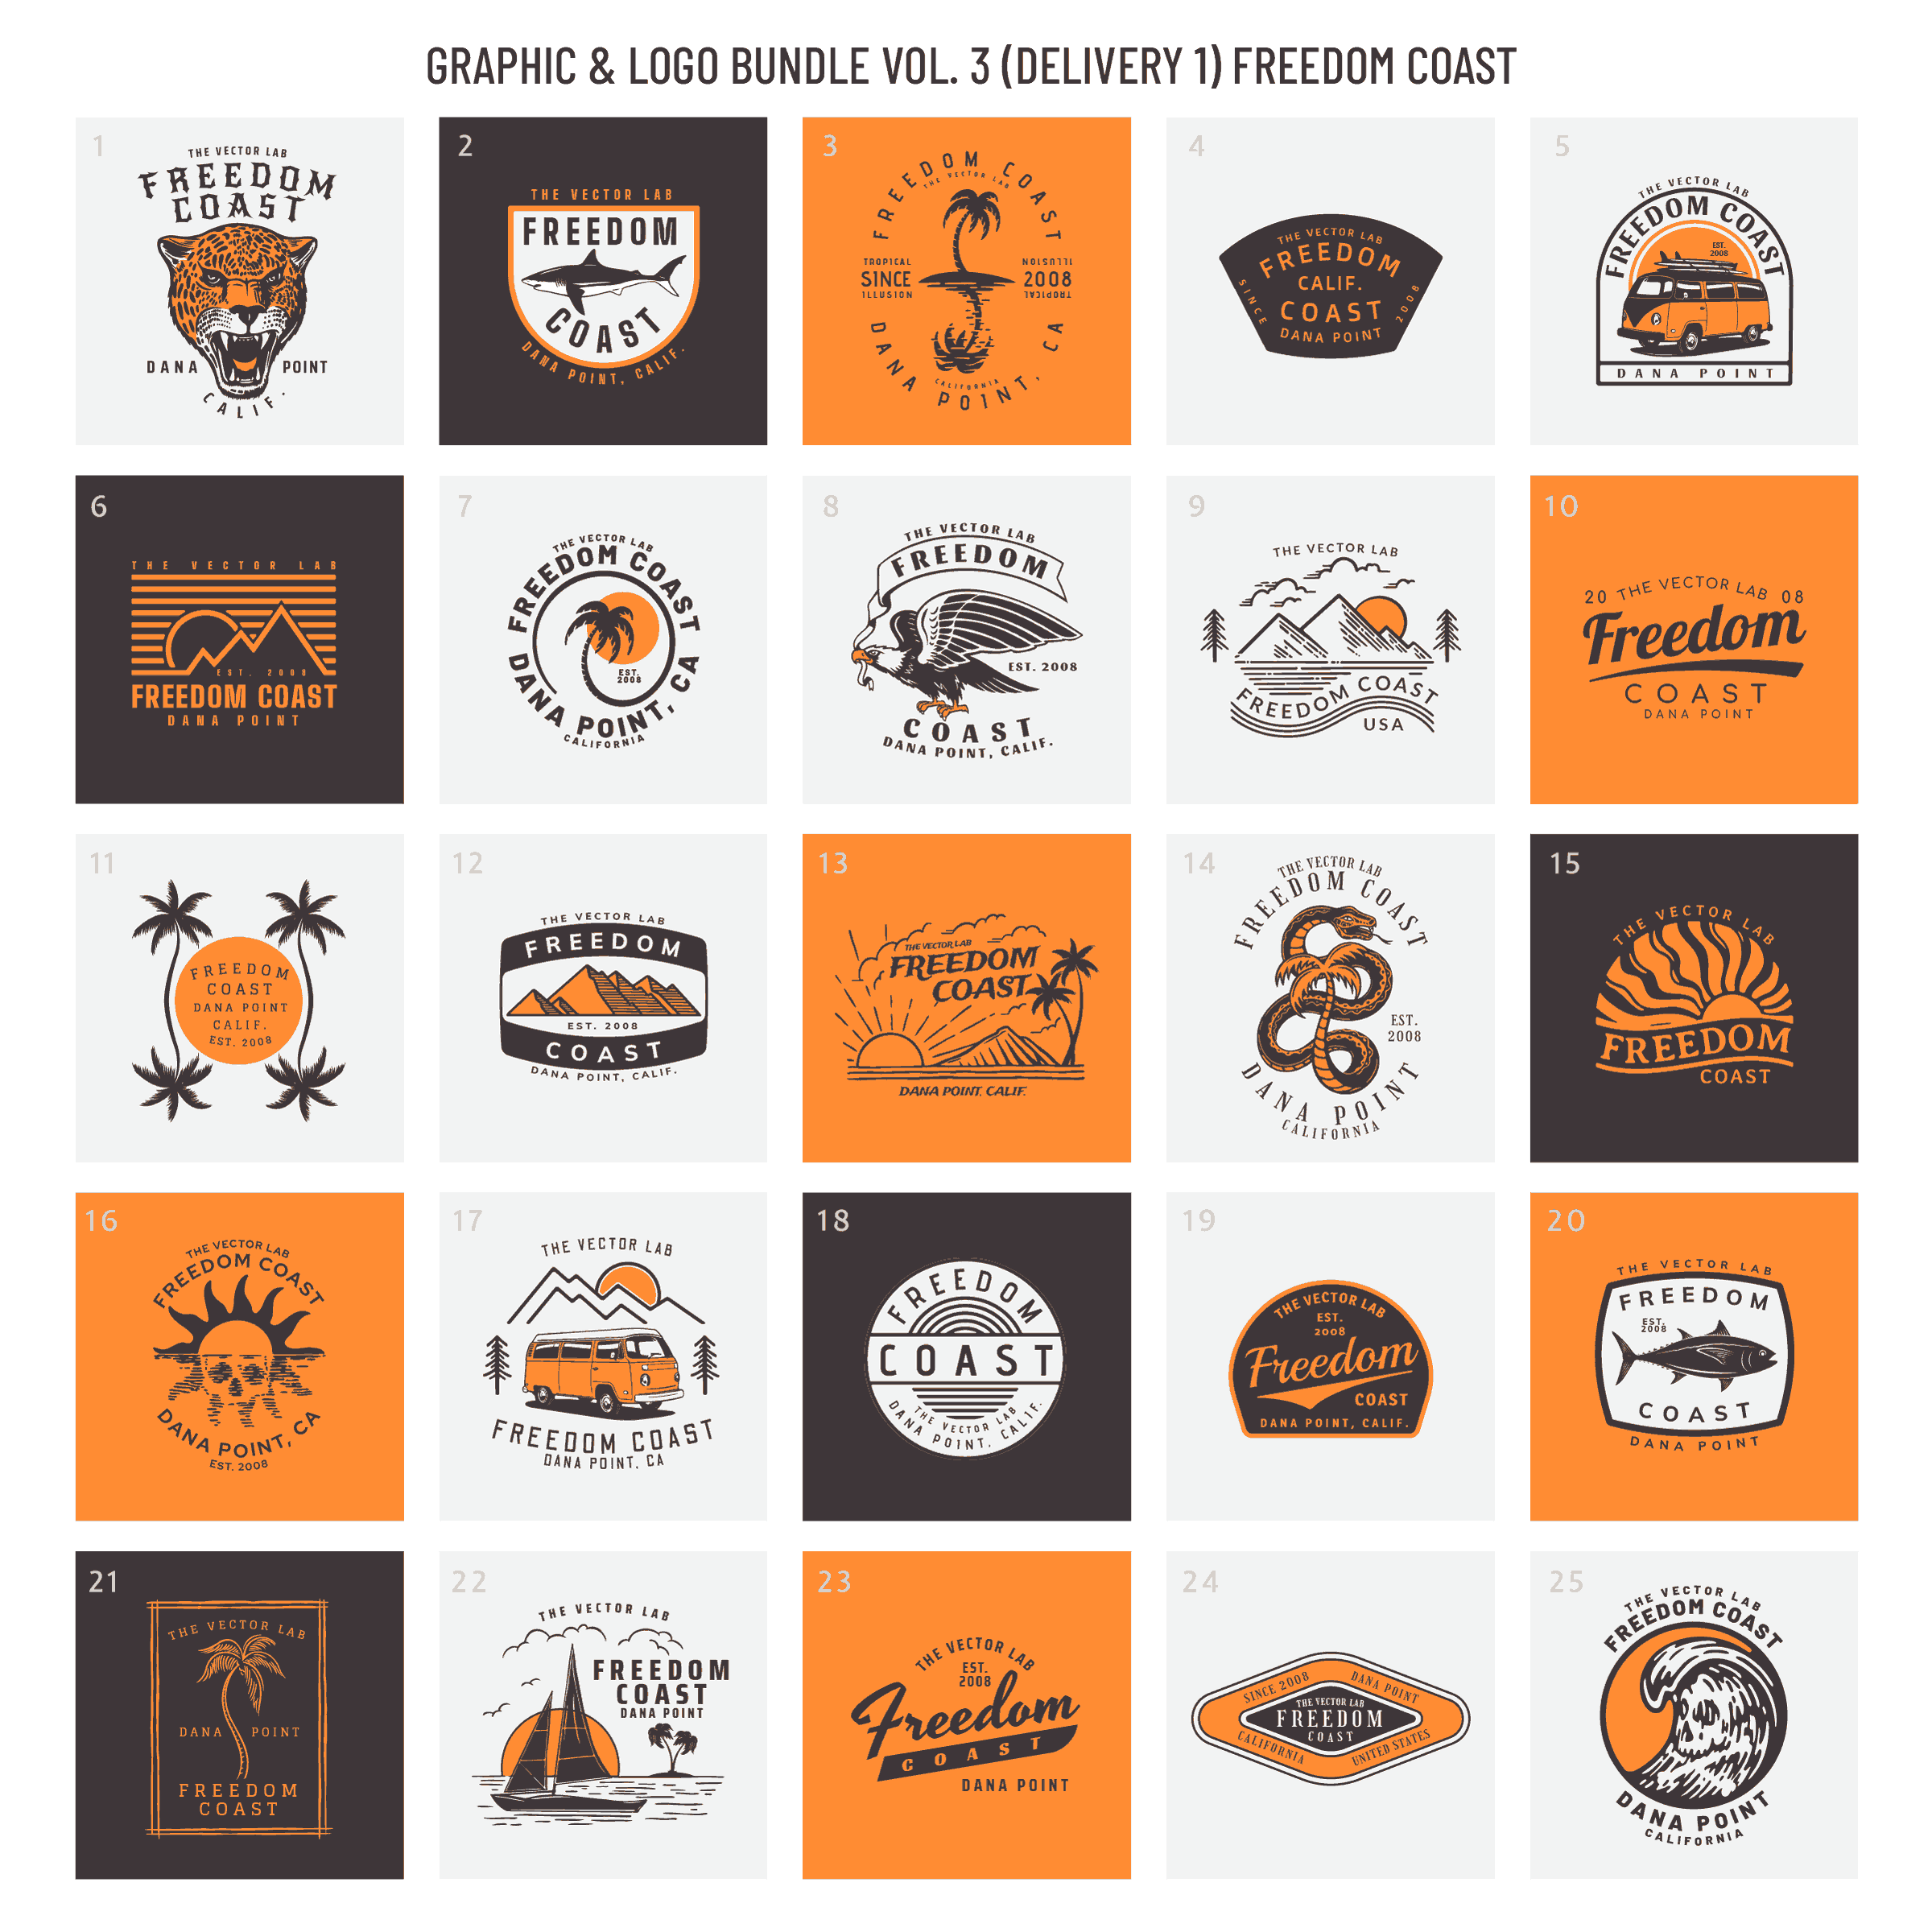
Graphic & Logo Bundle Vol. 3
100 Graphic & Logo Templates
How to Create Vector Graphics [Tutorial]
How to create layered vector graphics using Procreate (iPad), Photoshop, and Illustrator.
Texture Brushes shown are NatureTones.
The Octopus design is in the Uncharted Waters collection.
Apparel Mockups for Affinity for iPad
How to place your design into t-shirt and apparel mockup templates for Affinity on iPad.
4 Ways to Design T-Shirts on iPad
The iPad is one of the best new tools for designing t-shirt graphics.
Here are 4 different ways:
1) Affinity for iPad
As of July 2020, there is still no full version of Adobe Illustrator available for iPad. The best alternative is an excellent vector app called Affinity Designer.
Affinity also makes an app called Affinity Photo, which is similar to Adobe Photoshop.
Pros: Affinity apps on iPad have the same features and functionality as the desktop Mac and PC versions of Affinity.
Cons: The learning curve. Some of the tools can be difficult to locate on iPad, potentially slowing down your design workflow.
Here’s a video showing some ways to use Affinity Designer:
2) Procreate App for iPad
The Procreate App for iPad is currently the BEST DRAWING APP for iPad. Why? Because it’s simple, intuitive, and powerful. You can export your files as layered Photoshop PSD files.
But it’s not a fully featured graphic design app, such as Photoshop. I refer to it as a replacement for pens, pencils, brushes, paper, and a scanner. (You will also need a drawing stylus, such as an Apple Pencil).
Pros: A big time saver if you draw your own graphics. Easy. Simple. Inexpensive. Tons of good brushes.
Cons: Lack of capability for text along curves (arched type). No built-in vector capability.
Here’s my #1 method for turning raster/pixel-based Procreate drawings into vector format:
3) Adobe Fresco for iPad
If you want to draw with vector brushes, Adobe Fresco is worth a look.
Pros: Vector brushes. Excellent watercolor and painting brushes.
Cons: Not as delightful to use as Procreate.
4) iPad as a Drawing Tablet (on Mac)
Your iPad can be used as a pressure-sensitive drawing tablet with the Sidecar feature in macOS Catalina.
Pros: Works well with pressure-sensitive brushes in Photoshop and other graphic design software.
Cons: Your Mac needs to be nearby in order to use this function. Not compatible with Windows PC’s.
Apply Texture in Affinity Designer for iPad
Affinity Designer for iPad has all the same functionality as the desktop version. Except the tools and options can be a bit more tricky to locate on iPad.
🌴 Vintage Workwear Logo and Plastisol Texture shown are included with:

